Before you begin cut your mat board to the size of your frame.
Make your own mat for scan and cut.
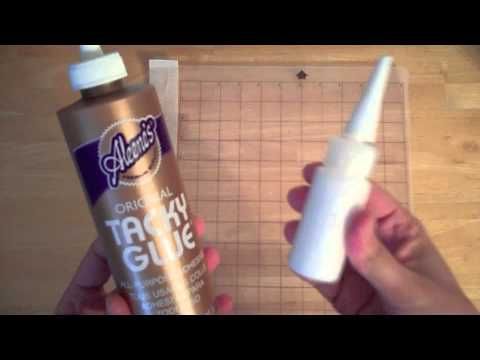
Don t get concerned if your brother scan n cut mat looks dirty and loses its stickiness.
Note some scan n cut models do not have the option to the larger 12 x 24 mats.
Both the raised ones and the black marking on your mat once the zig glue has dried and you have managed to restick your scan n cut mat.
The logan mat cutter i use runs about 50 for the guide and cutting handle.
Measure the reveal area you want around.
If you d like to get the pinflair stencil glue mentioned in the video you can grab some from create craft tv.
It s about how to re tack your cutting mat and is a free taster of my online cut draw and scan with confidence course that is hosted over on udemy.
Cicut and silhoute are copyright names.
In this brother scan n cut tutorial we show you how to clean your ma.
Hope you like it.
Here is a short step by step tutorial to assist with changing your scan n cut mat settings from 12 x 12 to 12 x 24 oh and back again when you are ready.
Make your own cutting mat for craft and sewing projects.
Use an x acto knife and a metal ruler to cut through the mat board.
Mats provide a sturdy surface for cutting fabrics and craft materials while protecting the table they rest on.
Don t be too heavy handed applying the glue as it will make the mat too sticky.
A cutting mat is a must for an avid craft lover or sewer.
Typically if you cut 2 3 of your own mats your tools will pay for themselves.
Below is the screen of my scan n cut which is a cm900 you may have a slightly different view however most models have similar functions.
This is a video of my personal take on cutting mats.
A cutting mat should be made of self healing plastic which prolongs the life and improves the quality of the mat itself.